Ankle injuries are common, particularly among sports and individuals who lead busy lifestyles. An ankle brace might be your best ally in recovering quickly or preventing such injuries in the first place. This post will go through several types, benefits, and proper ways to wear an ankle brace.
Types of Ankle Braces
- Lace-Up Braces: These look like shoes and have amazing adjustability, allowing you to choose the level of compression and support.
- Rigid Braces (Stirrup Style): These are perfect for post-injury support since they provide maximum protection.
- Compression Sleeves: They are best for light support and provide compression, which can help reduce edema.
- Hinged Braces: These provide a range of motion while protecting the joint by combining flexibility and support.
Benefits of an Ankle Brace
- Provides Stability and Support: An ankle brace keeps your ankle stable, especially during strenuous exercises.
- Reduces Risk of Injury or Re-injury: The risk of damage is considerably reduced by keeping the ankle aligned.
- Alleviates Pain and Swelling: The compression provided might help to relieve pain and soothe the skin.
- Facilitates Quicker Recovery: A brace can help with healing after an injury.
- Enhances Athletic Performance: Athletes may concentrate on the game without worrying about uncomfortable ankle movements.
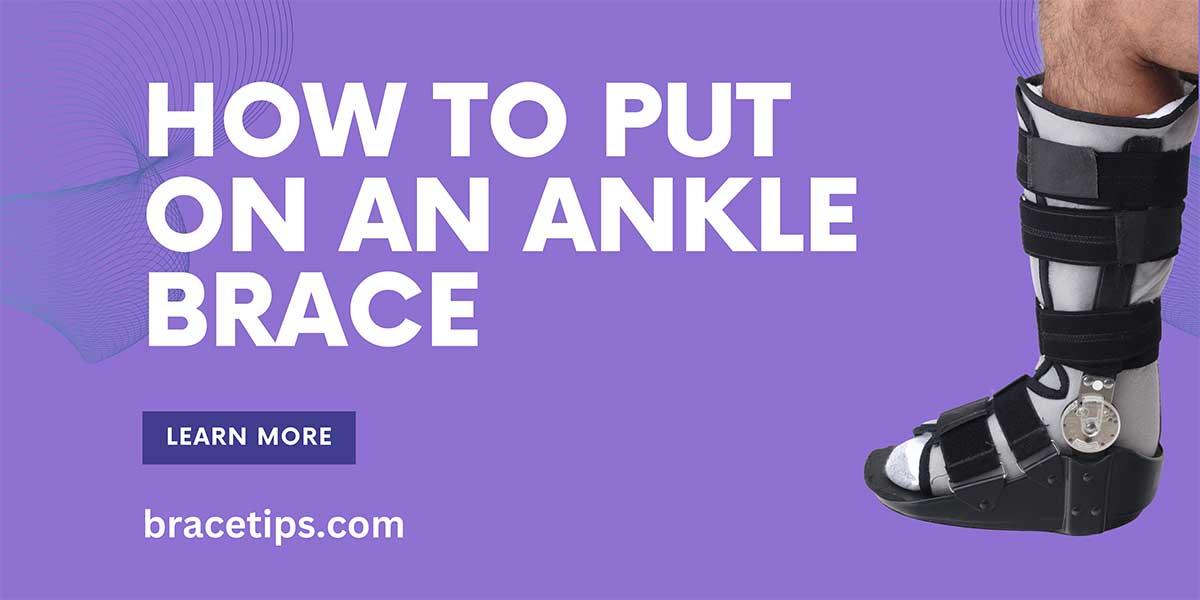
Steps to Put on an Ankle Brace Properly
There are different types of ankle brace. explained each of them:
For Lace-Up Braces:
- Loosen the Laces: To begin, totally loosen the laces and open the brace.
- Position the Brace: Make sure your heel fits tightly into the heel lock of the brace.
- Lace Up: Begin lacing from the bottom, as you would with shoes.
- Adjust Tightness: Pull the laces as tight as you like. It should fit snugly but not constrictively.
- Secure Straps: Secure any extra straps that come with your brace for enhanced stability.
For Rigid Braces (Stirrup Style):
- Place Brace on Ground: Position the bracing such that the hinge is on the outside.
- Step In: Step carefully into the brace, making sure your heel fits at the back.
- Fasten Straps: Begin with the bottom and work your way up, adjusting the straps to achieve a snug fit.
- Check Comfort: The brace should give support while causing little pain.
For Compression Sleeves:
- Gather the Sleeve: Hold the top and roll it down slightly, as if putting on a sock.
- Slide Foot In: Insert your foot, making sure the heel is in line with any cut-outs or padded sections.
- Adjust the Sleeve: Roll or draw it up your ankle until it is snug and covers the required area.
For Hinged Braces:
- Open the Brace: Spread it out flat and open.
- Insert Foot: Insert your foot, making sure that the hinges are parallel to the sides of your ankle.
- Secure Bottom Strap: This maintains the brace in place.
- Fasten Additional Straps: Make adjustments for a snug but comfortable fit.
Consult With Specialist
- Importance of Seeking Professional Advice: Everyone’s requirements are distinct. An expert can assist you in determining the ideal brace for your situation.
- When to Consult: If you’ve experienced a serious injury or are unsure about the type of brace needed, it’s advisable to get advice.
- Benefits of Personalized Recommendation: Customized counsel gives the best possible protection and recovery.
- Preventive vs. Post-Injury Braces: Understanding the difference might assist you in making an informed selection.
Tips and Considerations
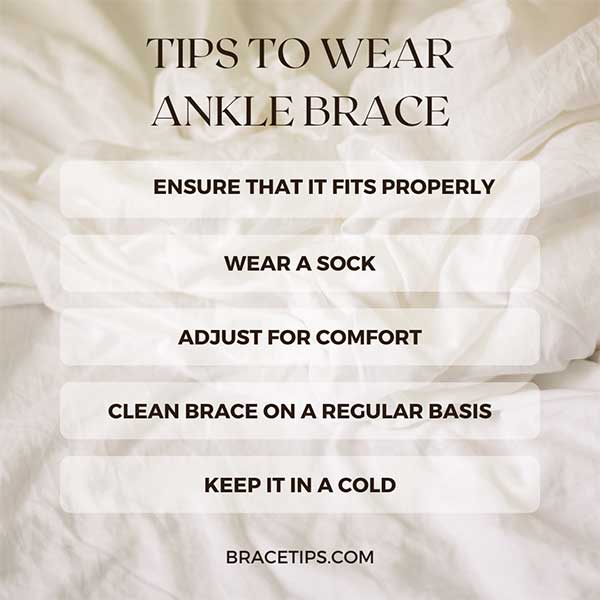
- Proper Fit: A brace that is too tight can restrict blood flow, while a brace that is too loose may not give appropriate support. Find the golden center.
- Wear a Sock: Socks can reduce direct friction and improve comfort.
- Adjust for Comfort: Check and adjust your brace on a regular basis to ensure maximum support and comfort.
Common Mistakes to Avoid
- Incorrect Tightness: Find a happy medium. It should not restrict circulation or slide downward.
- Wrong Brace Type: Before you buy, do your homework to ensure you receive the best brace for your needs.
- Neglecting Hygiene: To avoid skin problems, clean your brace on a regular basis.
- Using a Damaged Brace: A worn-out brace will not give adequate support.
Maintenance and Care for Ankle Braces
- Cleaning: Follow the manufacturer’s directions. Mild soap and lukewarm water are usually sufficient.
- Storage: Keep it in a cold, dry location. Keep out of direct sunlight.
- Replacement: Inspect your brace on a regular basis for symptoms of wear and strain. When necessary, replace.
Conclusion
An ankle brace is essential whether you are nursing an injured ankle or are proactive in preventing possible problems. When in doubt, consult a specialist, wear adequate clothing, and prioritize your health and safety.
FAQs
Q1: How tight should my ankle brace be?
Ans: Your ankle brace should be tight enough to provide support without creating discomfort or limiting blood flow.
Q2: Can I wear my ankle brace over a sock?
Ans: Yes, wearing a sock underneath your ankle brace can help reduce chafing and improve comfort.
Q3: How often should I clean my ankle brace?
Ans: Cleaning your brace on a regular basis is recommended, especially if it has been exposed to sweat. Follow the cleaning instructions provided by the manufacturer.
Q4: Will wearing an ankle brace weaken my ankle?
Ans: While a brace provides support, it is equally critical to perform strengthening exercises. Using a brace without exercising can result in muscle atrophy over time.
Q5: How long should I wear an ankle brace after an injury?
Ans: The length of time depends on the severity of the damage. It is best to seek individualized guidance from a healthcare practitioner.
Q6: Can I exercise or play sports while wearing an ankle brace?
Ans: Yes, many athletes use ankle braces while competing to prevent injuries or offer support for an existing ailment. Check to see if the brace is intended for sports use.